


Natural Hair Coloring at Home






Natural Hair Color at Home: Step-by-Step Guide for Grey Coverage
Before You Start: The Decisions That Determine Your Result
Natural hair... Read More
Natural Hair Color at Home: Step-by-Step Guide for Grey Coverage
Before You Start: The Decisions That Determine Your Result
Natural hair coloring at home succeeds or fails largely before you open the product. The decisions you make in advance, about shade, timing, preparation, and what you are trying to achieve, shape everything that follows.
Decision 1: What are you trying to do?
This sounds obvious, but it is worth being precise. Are you trying to cover grey? Deepen your natural colour? Add warmth? Change shade? Each of these has slightly different implications for which shade you choose, how long you process, and what result you can realistically expect.
A well-formulated natural or herbal hair color can provide effective grey coverage when the right shade, application technique, and processing time are used. It can deepen or enrich your natural colour. It can shift you one to two shades in the direction of the shade you choose. What it cannot do is lighten your hair. If your goal involves going lighter than your current colour, you will need a lightening process first. For everything else, natural colour delivers genuine, beautiful results.
Decision 2: Which shade?
Shade selection for natural hair coloring at home is slightly different from conventional dye because you are working with botanical pigments that interact with your existing hair colour rather than synthetic pigments that simply overlay it.
As a general guide:
-
If you have dark hair and want to cover grey: choose dark brown or natural black
-
If you have medium brown hair and want to enrich the colour: choose medium or dark brown
-
If you have lighter brown or red tones: burgundy or light brown
-
If you want maximum coverage across significant greying: dark brown or natural black gives the most predictable result
When in doubt, go one shade darker rather than lighter. Natural colour on a slightly darker shade produces a rich, multidimensional result. Natural colour chosen too light for your hair may not produce visible colour change.
Decision 3: Timing
Plan for two hours from start to finish, including preparation, application, processing, and rinsing. The actual processing time is 35 minutes, but preparation and rinsing add time on both ends. Do not start if you have somewhere to be in 90 minutes.
Your Preparation Checklist
The day before or the morning of colouring, wash your hair with a sulphate-free shampoo. Do not condition. You want the hair to be clean but without a conditioning agent creating a barrier between the colour and the cuticle.
Gather everything you need before you start:
-
The hair colour kit (check that both components are present if using a two-part formula)
-
Tinting brush
-
Mixing bowl (if the kit does not include one)
-
Non-metallic bowl
-
Two large sectioning clips or hair ties for four-section parting
-
Old towel or cape
-
Gloves (usually included)
-
Timer
-
Shower cap
-
Hairdryer (optional but recommended for grey coverage)
Set up in the bathroom with good lighting. Check that you can see the back of your head with a mirror combination. Change into a shirt you are comfortable potentially staining.
Do a patch test 48 hours before colouring if this is your first time using this product. Apply a small amount to the back of your neck, leave for 20 minutes, rinse, and check for any reaction over the following 48 hours.
Mixing: The Two Minutes That Set Up Everything
Open the components. If using a two-part gel system (developer and colour), squeeze the developer into the mixing bowl first, then the colour. Mix thoroughly with the tinting brush until the colour is completely uniform, with no streaks of unmixed developer visible.
The consistency of well-mixed natural hair colour gel is thicker than conventional cream colour. It should hold its shape slightly when scooped with the brush. This thickness is what gives you the controlled, non-dripping application that makes natural hair coloring at home so much more manageable than working with liquid colour.
Work quickly after mixing. Activation begins when the components are combined. You have approximately 45-60 minutes of optimal working time.
Application: The Most Important Phase
This is where most people go wrong with natural hair coloring at home, and where most disappointing results originate. The application is not difficult, but it requires methodical attention to saturation.
Section the hair into four parts:
-
Front left (from crown to ear)
-
Front right (from crown to ear)
-
Back left
-
Back right
Clip the sections you are not working on out of the way.
Start where the grey is most concentrated. For most people, this is the temples, the hairline, and the crown parting. These areas need the most processing time, so they should receive colour first.
Apply with the brush, not your hands. Dip the brush into the colour, picking up a reasonable amount. Apply to a parting or section line, working the colour into the root with the flat of the brush. Then work the colour from root to mid-length on that section.
The key instruction: Apply the mixture thoroughly, ensuring each strand is evenly coated. Complete and even saturation is important for consistent grey coverage. Natural hair colour requires saturation. If only the outer layer of a section is coated, the inner strands will have inadequate coverage, and you will see variation in the final result.
Move through each section systematically. Complete the root application across all four sections before going back to apply to the mid-lengths and ends.
Check the parting lines and edges. The hairline, the nape, and the crown parting are the most visible areas and the most commonly missed. After completing the main application, go back and check these areas specifically.
The full application should take 15-20 minutes. This is longer than applying conventional cream colour because the methodical saturation takes more time. It is worth it.
Processing: The 35-Minute Window
Once the application is complete, gather all the hair onto the top of your head. Cover completely with the shower cap. The cap serves two purposes: it prevents the colour from drying out and creates a warm, humid environment that aids penetration.
Set your timer for 35 minutes.
After 30 minutes, take the hairdryer on the lowest heat setting and direct it over the shower cap for the remaining 10 minutes. Move the dryer slowly around the head, spending equal time on all areas. This warmth step is particularly important for grey coverage. The gentle heat reduces the viscosity of the gel slightly, allowing the botanical pigments to penetrate more deeply and evenly. It is the single most effective technique upgrade for natural hair coloring at home.
During the processing time, the colour is bonding to the hair's keratin protein through a process called substantive colouring. Unlike conventional dye, which is an active chemical process requiring ongoing oxidation, natural colour bonding is a diffusion-driven process that benefits from time and warmth.
Rinsing: The Most Underestimated Step
When the timer goes off, move to the shower. Remove the cap. Rinse with lukewarm water.
Natural hair colour gel takes longer to rinse out than conventional cream colour because the gel matrix is thicker. Be patient. Continue rinsing until the water running off your hair is completely clear. This may take five to seven minutes.
Use sulphate- and paraben-free shampoo. The 48 hours after application are a critical bonding window during which the botanical pigments are still settling fully into the hair's protein structure. Shampooing before 48 hours significantly reduces colour longevity and depth.
After rinsing, we provide conditioner and shampoo in a premium pack, so apply accordingly (or a colour-protecting conditioner if not provided) from mid-length to ends. Leave for three minutes. Rinse with cool water.
The cool water rinse at the end serves a specific purpose: it closes the cuticle, seals in the colour, and gives the hair its post-colour shine.
The Reveal: What to Expect
Towel-dry gently. Do not rub vigorously; blot instead. The colour at this moment will look slightly darker and more intense than it will when dry. This is normal.
Dry your hair naturally if possible, or use a hairdryer on medium heat. As the hair dries, the colour settles, and the final result becomes clear.
If you have gone from predominantly grey to a rich dark brown or natural black, the transformation at this point is typically striking. The grey is gone. The colour is even and multidimensional. The hair typically feels softer and more manageable than it did before colouring, which is one of the most consistent differences people notice when switching to natural hair coloring at home.
The 48-Hour Rule and Post-Colour Care
For 48 hours after application:
-
No swimming (chlorine damages botanical pigment)
-
Use sulphate- and paraben-free shampoo
-
No heavy heat styling (the cuticle is slightly more open during this bonding period)
-
No oil treatments (oil creates a barrier that can interfere with pigment bonding)
After 48 hours, resume your normal routine with sulphate-free shampoo. Washing with a colour-protecting formula dramatically extends colour longevity.
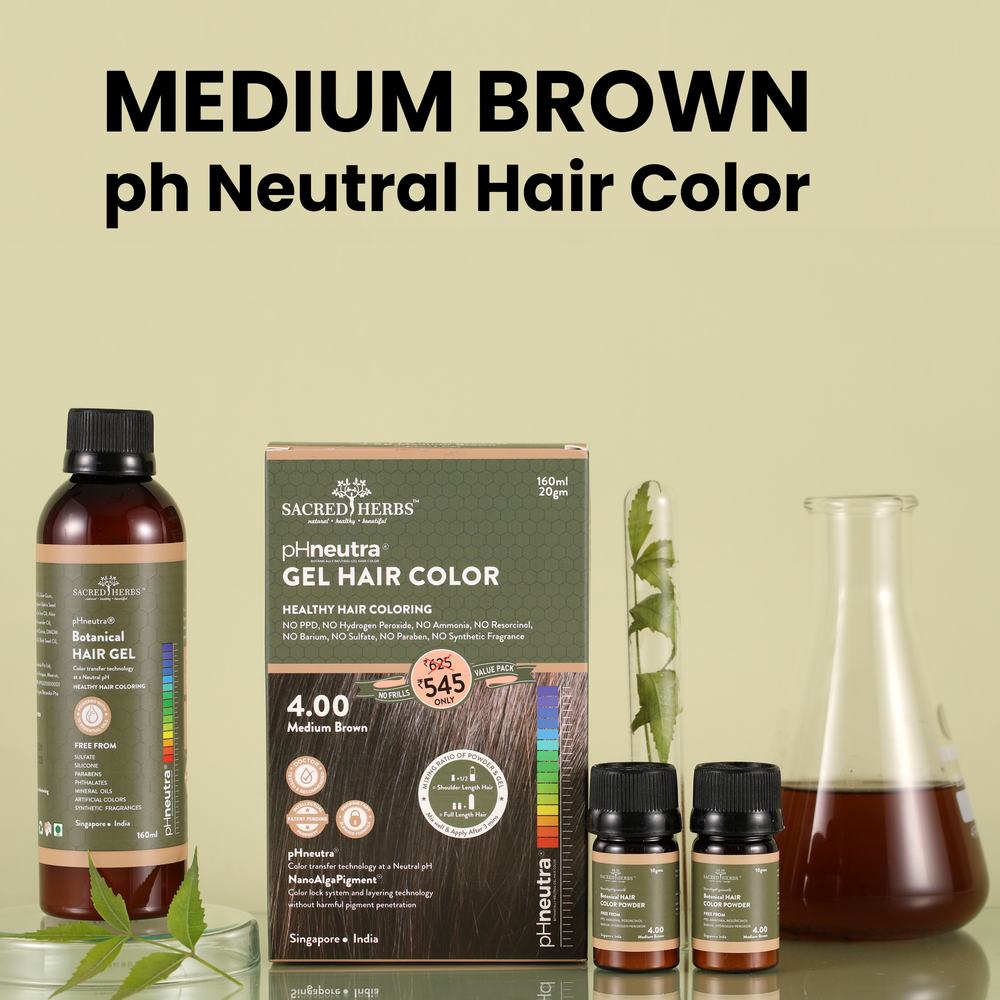
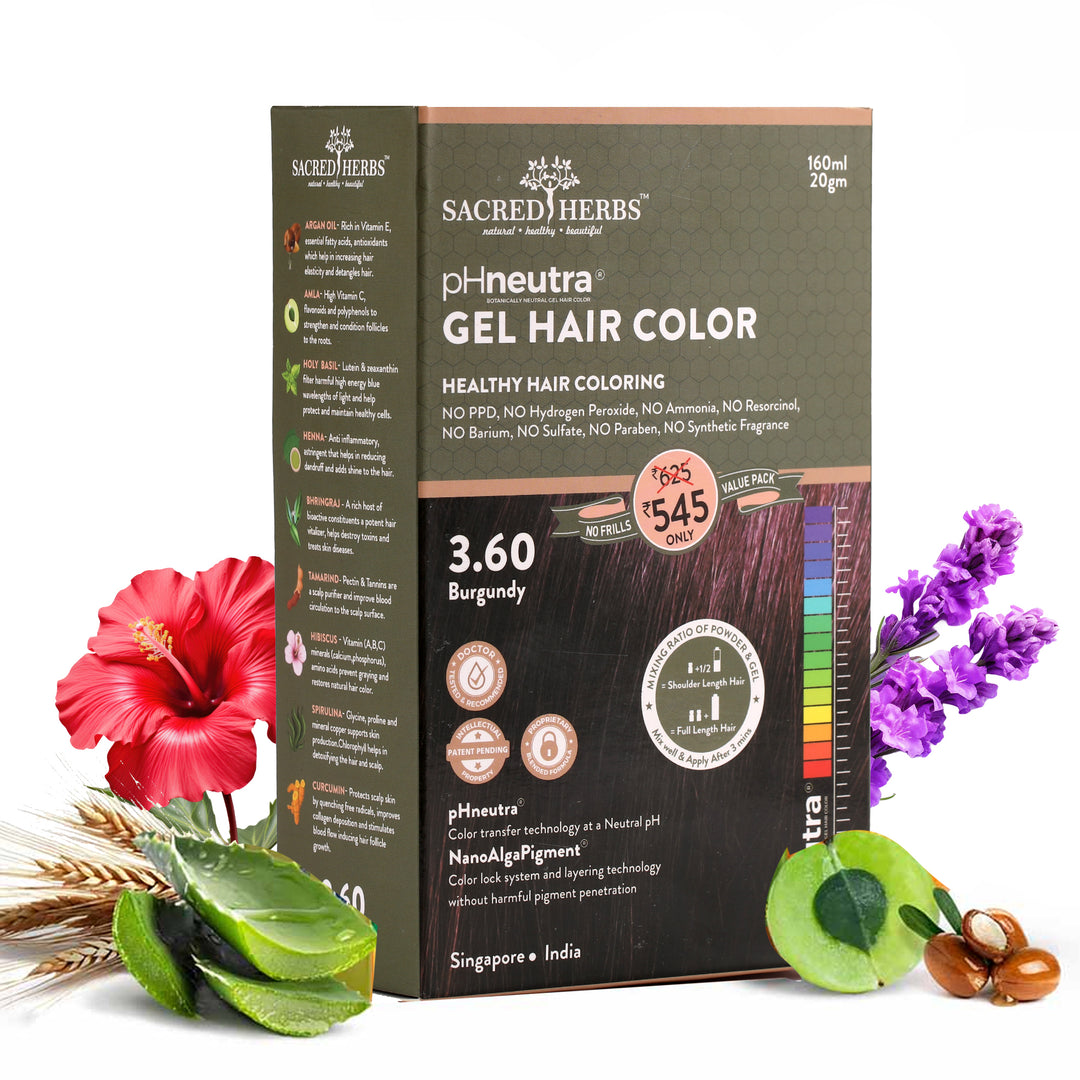
The Hair Color Collection at Sacred Herbs includes gel colour across five shades, all formulated with pHneutra and NanoAlgaPigment technology for complete grey coverage at a neutral pH.
Making Your Colour Last: The Month Between Applications
Most people find they need to recolour every four weeks. Several habits extend this interval significantly:
Wash hair in cool water rather than hot (hot water opens the cuticle and releases colour). Use a sulphate-free shampoo for every wash. Minimise heat styling. Use a UV-protective leave-in product if you are regularly in direct sunlight.
The Hair Care Collection at Sacred Herbs includes the ColorLock Series — specifically formulated to extend the life of botanical colour with colour-protecting shampoo, conditioner, and leave-in treatment.
Frequently Asked Questions
My colour came out uneven. What went wrong?
The most common cause is insufficient saturation during application. Areas that received less product show lighter coverage. In subsequent applications, spend more time pressing the colour into each section and checking parting lines.
The colour looks much darker than the shade chart. Is this normal?
Wet, freshly applied colour always appears darker than the dried result. Wait until your hair is completely dry before evaluating. If it is still significantly darker than expected, it will lighten slightly over the first week.
Can I mix two shades to get a custom colour?
Yes. Mixing shades from the same product range is generally safe and predictable. Do a strand test first to check the result before applying to your whole head.
How do I do natural hair coloring at home on curly hair?
Apply to defined sections rather than all-over, working product through curl clusters carefully. Curly hair often has variable porosity along the strand, so saturation is particularly important. The processing time and technique remain the same.
What if I miss a spot?
If you notice an uncovered area after rinsing, you can do a targeted touch-up at the next application. Spot-applying colour to just the missed area is straightforward with gel colour.